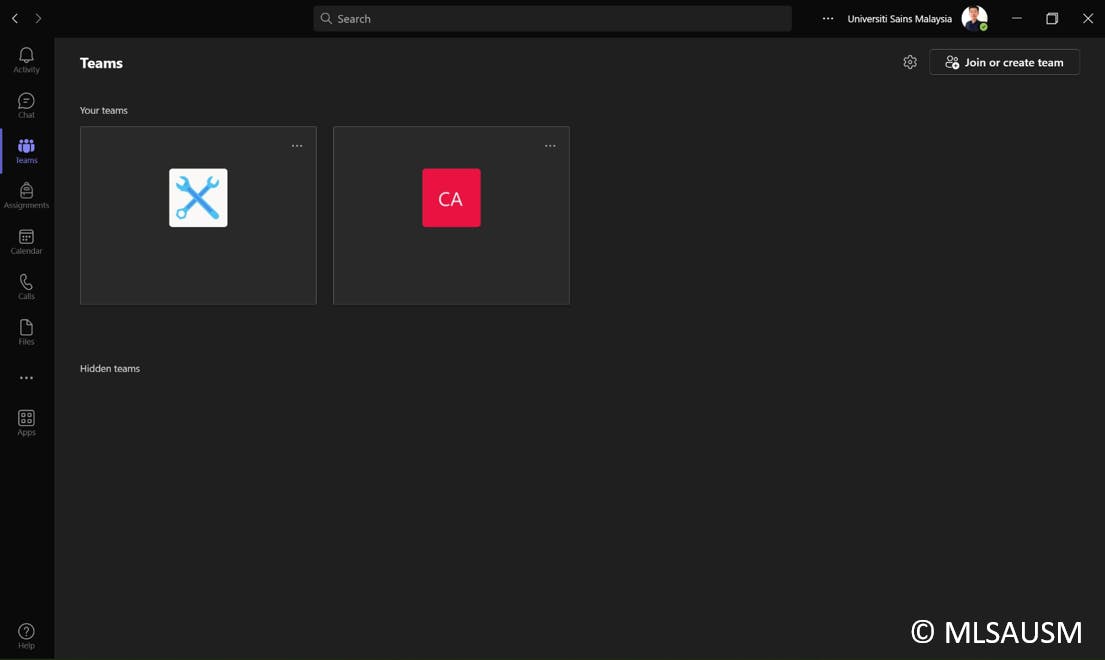
Microsoft Teams
No more 60-minute meeting limit, and you can hold meetings for as long as you need


On your desktop, there is a free meeting application that you can use as a student. The best thing about it is there is no time limit. ⏳
Setting up Microsoft Teams
- Search for "Teams" in your desktop search bar. Once you found it, click "open".
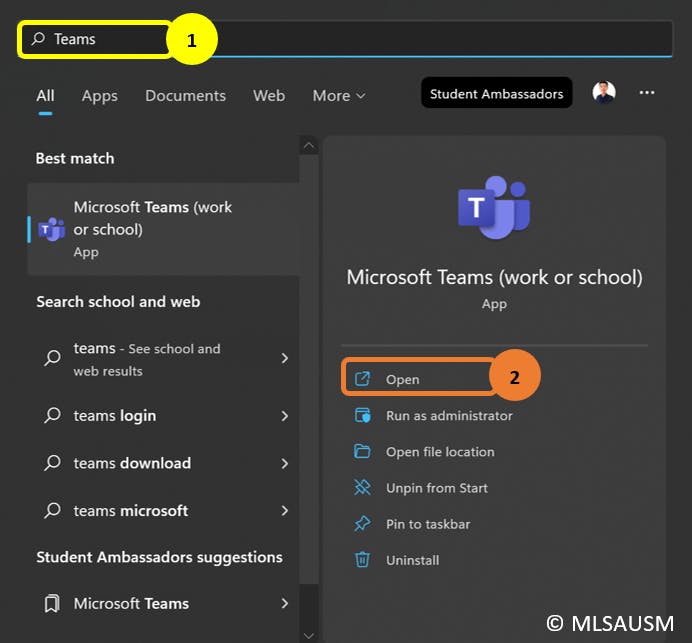
Make sure that it is "Microsoft Teams (work or school)". It is because we will be using our student email account to log in.
- If you can not find the application on your desktop, head to the following website and install the desktop application.
https://www.microsoft.com/en-my/microsoft-teams/download-app?wt.mc_id=studentamb_202172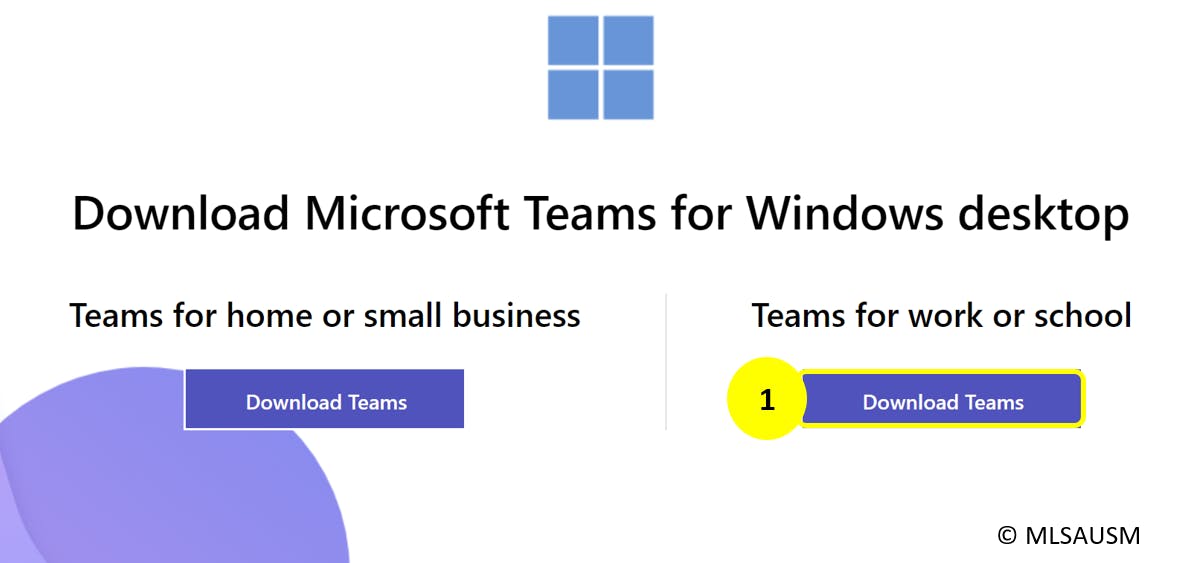
Make sure you install the "Teams for work or school" version
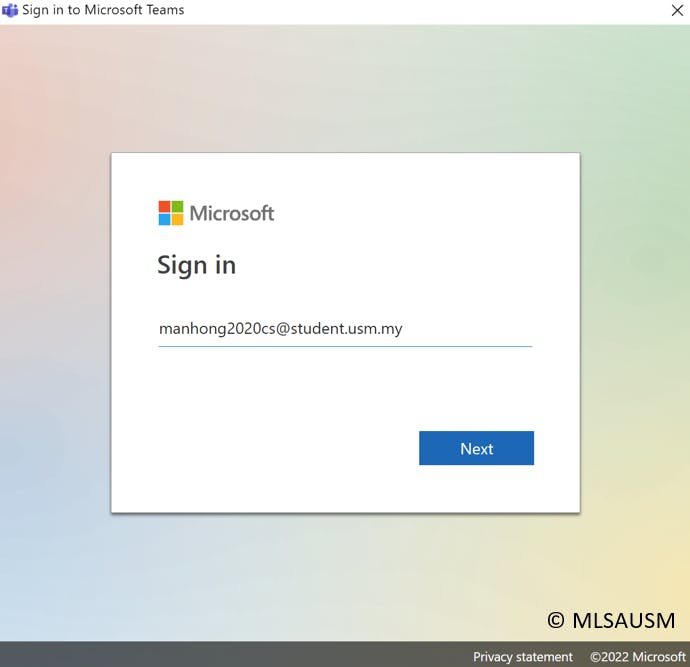
- After opening the app, you are prompted to sign in. Sign in with your USM student account.
- Follow any step to complete the setup of your Teams account. You should reach here after the setup.
Start using Teams
Creating a team in Teams
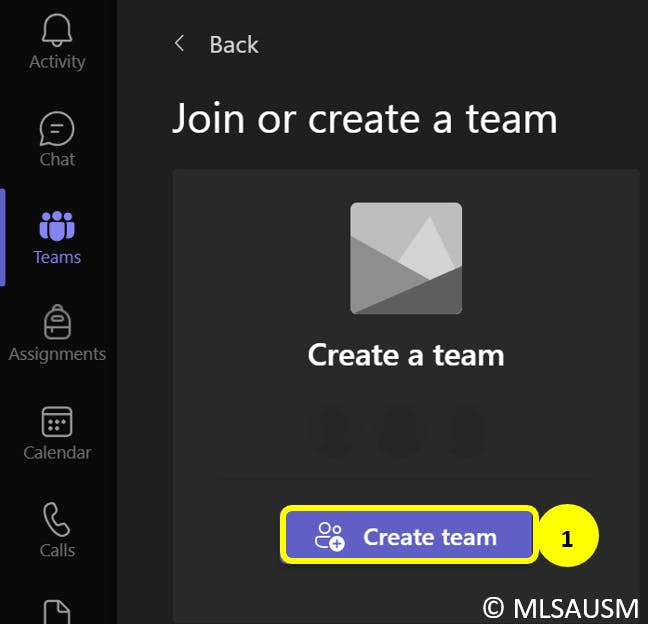
- Click 'Teams' on the side menu and click "Join or create team".

- Select "Create team". After that, you can name the team and leave the other settings by default.
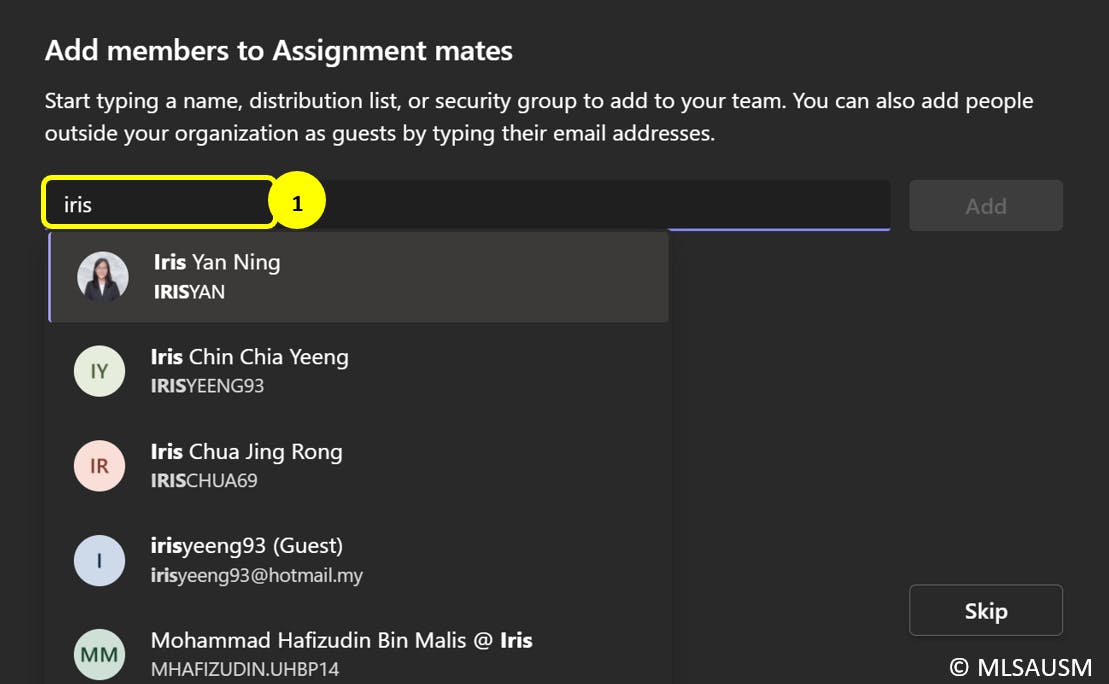
- Next, you will be prompted to add members to the team. You can search for your member using the search bar. Or you can skip this step and add them later.
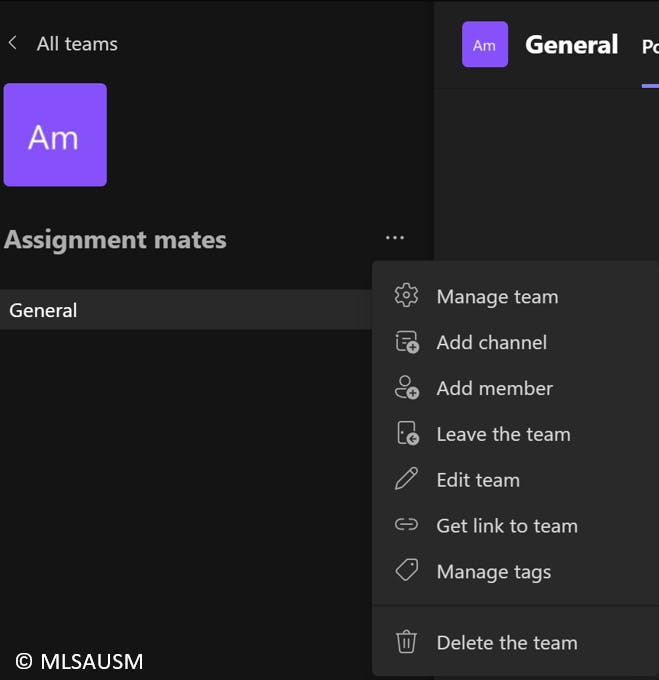
- When you click the 3 dots, you can access to multiple functions. For example, you can add channels for different topics. You can also add members here as well.
Start Meeting in Teams
- You can start meeting immediately or schedule a meeting when you click the arrow on the right side of the "Meet" button.

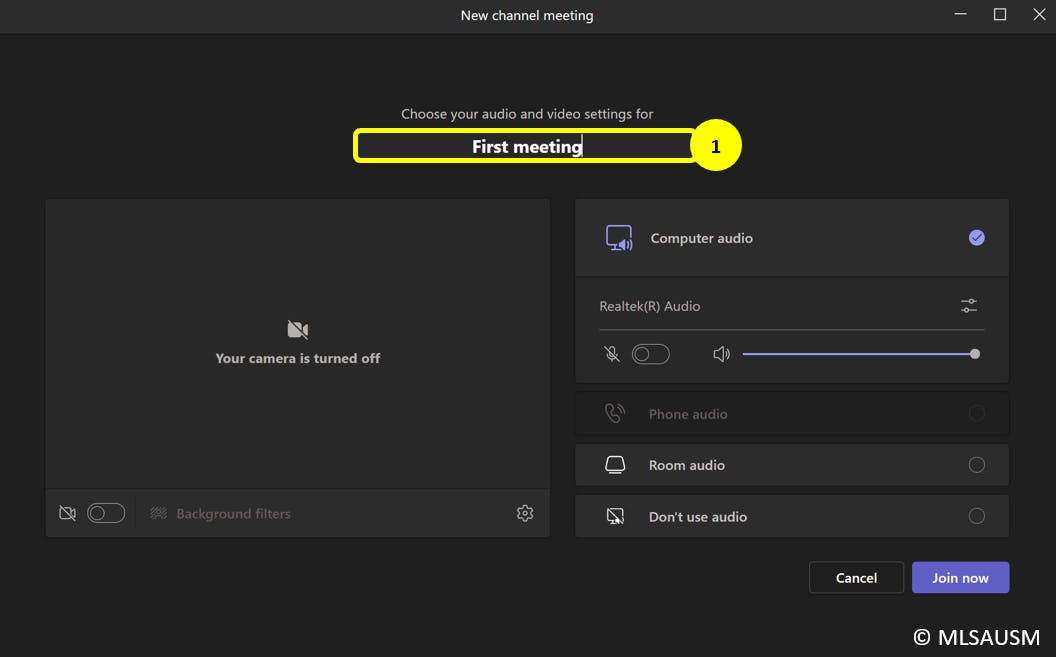
- For "Meet now", you can start after you name the meeting.
- After you start the meeting, you will see the following interface.

For the top left menu bar,
- People - You can check the list of participants here
- Chat - You can chat here with the participants
- Reactions - You can react to the presenters
- Rooms - You can create a breakout room
- There are more useful features in the "More" section such as recording the session.
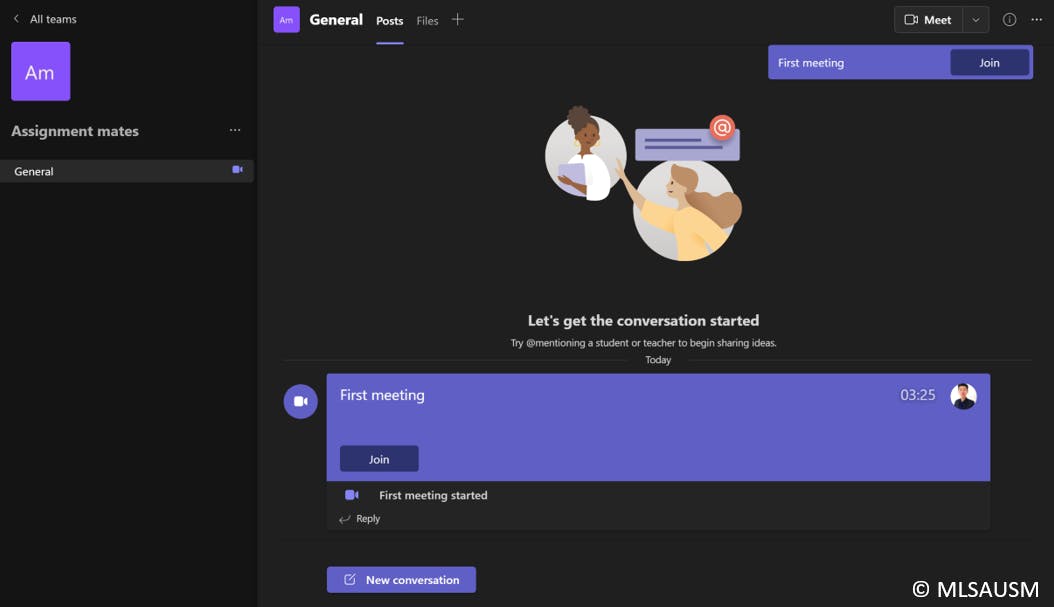
- Once you are in the meeting, your member can see the meeting being started inside the Teams channel.
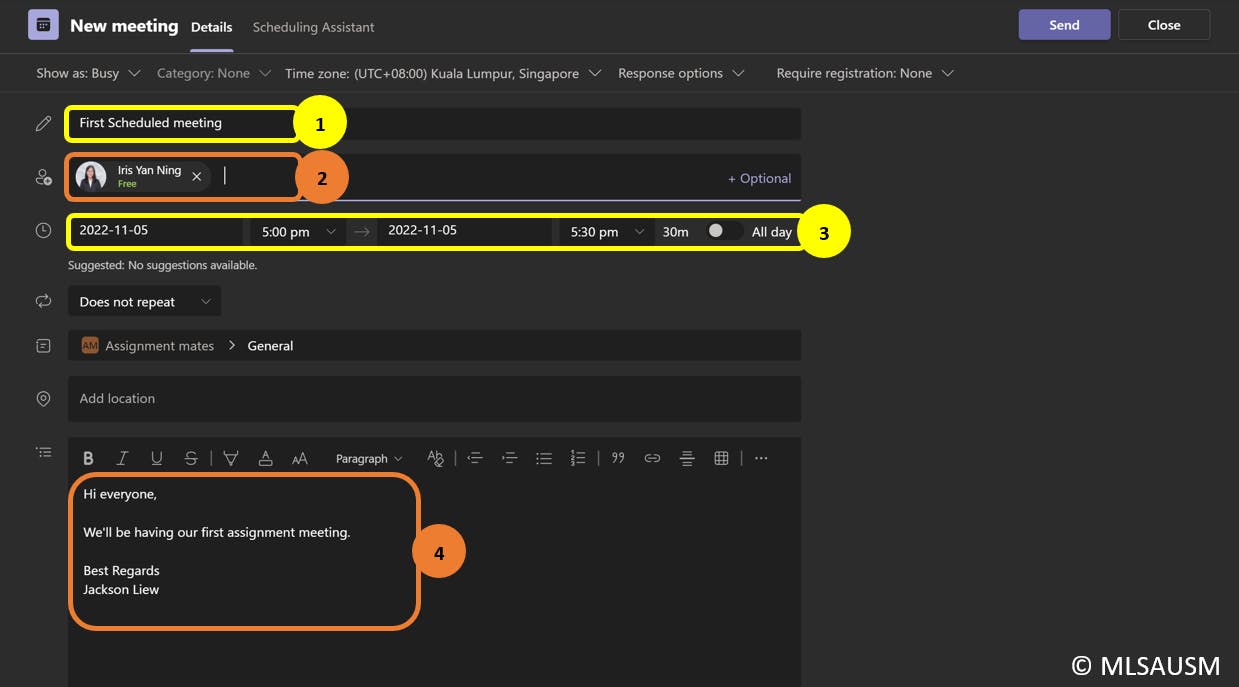
- For "Schedule a meeting", you will see the following interface.
You can set the meeting title(1), invite people(2), set the meeting duration(3) and add a message(4).
The invited participants will receive an email in their outlook account to RSVP and access the meeting link.
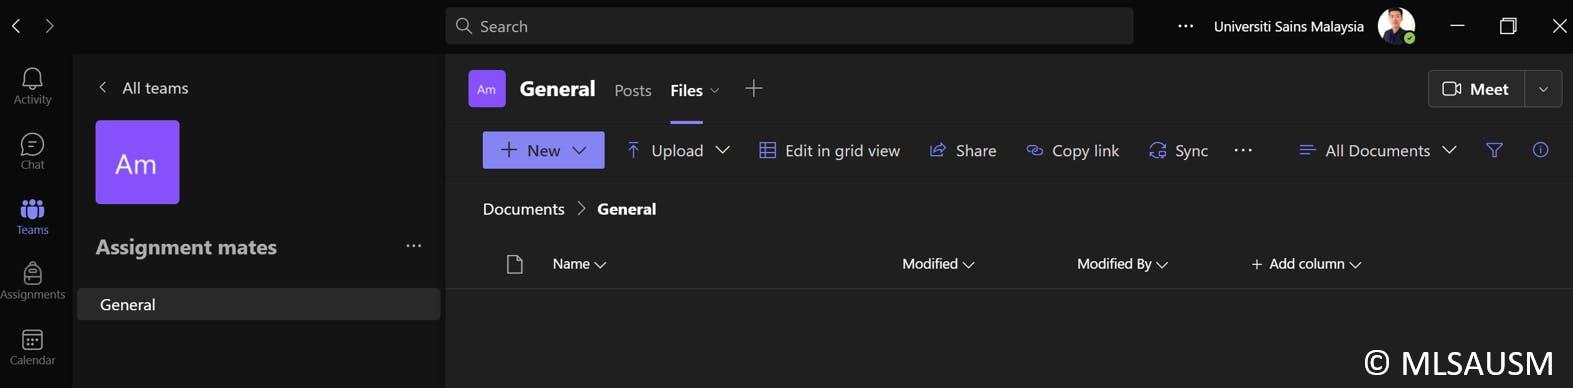
There are more useful features like uploading files into Teams. You can access the shared files with the members as well.